Artisan Sourdough Bread
1 Loaf
45 min
55 min
9 h
10 h 40 min
Ingredients
- 350 g All-Purpose Flour
- 150 g Whole Wheat Flour
- 390 g Water
- 75 g Active Sourdough Starter
- 10 g Salt
Equipment
- Bowl
- Danish Whisk
- Scale
- Dough Scraper
- Spatula
- Plastic Wrap/Tea Towel
- Cast Iron Dutch Oven
- Razor Blade/Blade Lame
- Proofing Basket
- Baking Sheet
- Cooling Rack
- Parchment Paper/Silicone Baking Mat
- Bread Knife
- Oven Mitts
Instructions

 (Show/Hide Images In The Recipe)
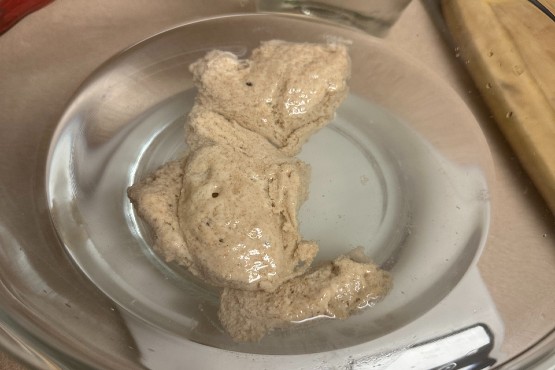
1. In a bowl, combine wet ingredients. Mix until well combined.
390 g Water
75 g Active Sourdough Starter
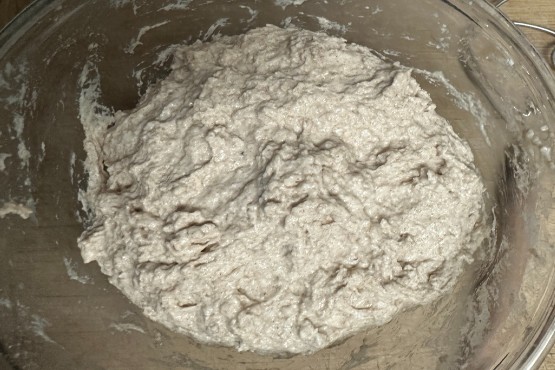
2. Add dry ingredients to the wet mix and mix until well incorporated. Cover the bowl with plastic wrap or a tea towel. Let it rest for 30 minutes.
350 g All-Purpose Flour
150 g Whole Wheat Flour
10 g Salt
3. During the next 2 hours, every 30 minutes stretch and fold* the dough, to make a total of 4 stretches and folds.
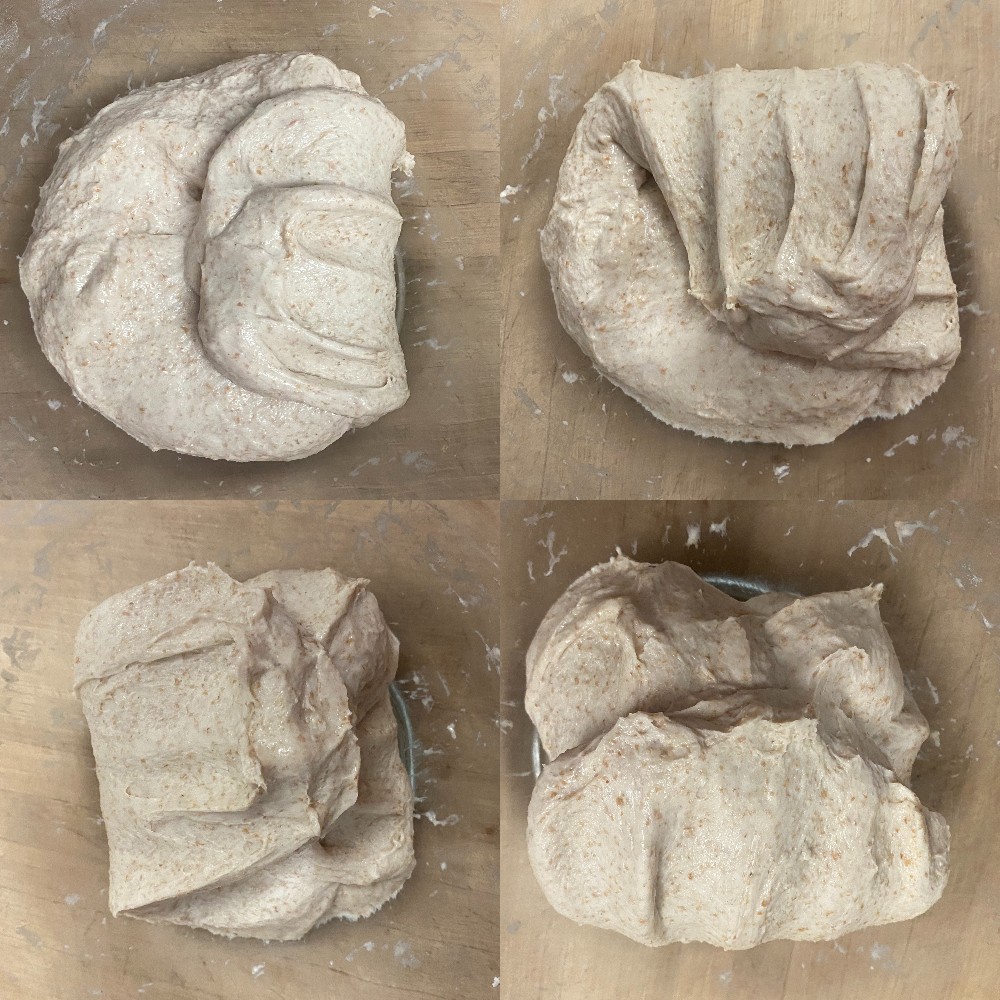
Stretch and Fold*: Gently lift one side of the dough and fold it towards the center. Repeat this process for the remaining three sides of the dough. This method essentially turns the dough inside out.
4. *Bulk Fermentation: After completing the last stretch and fold, cover the bowl, and leave it in a warm place until it doubles in size, it could go from 4 to 12 hours depending on the room temperature.
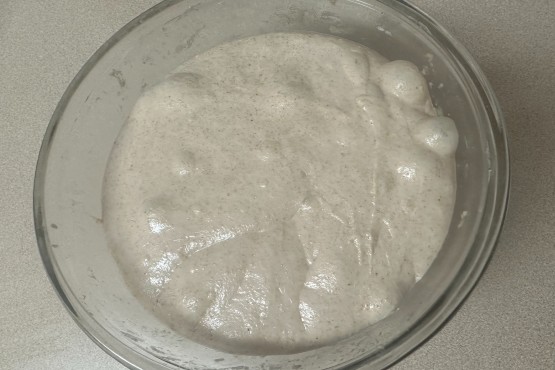
Bulk fermentation* is the initial stage of dough fermentation after mixing the dough. It is also known as the "first rise" or ”primary fermentation”. It begins immediately after mixing and ends when the dough is shaped. It is typically the longest step in the sourdough process.
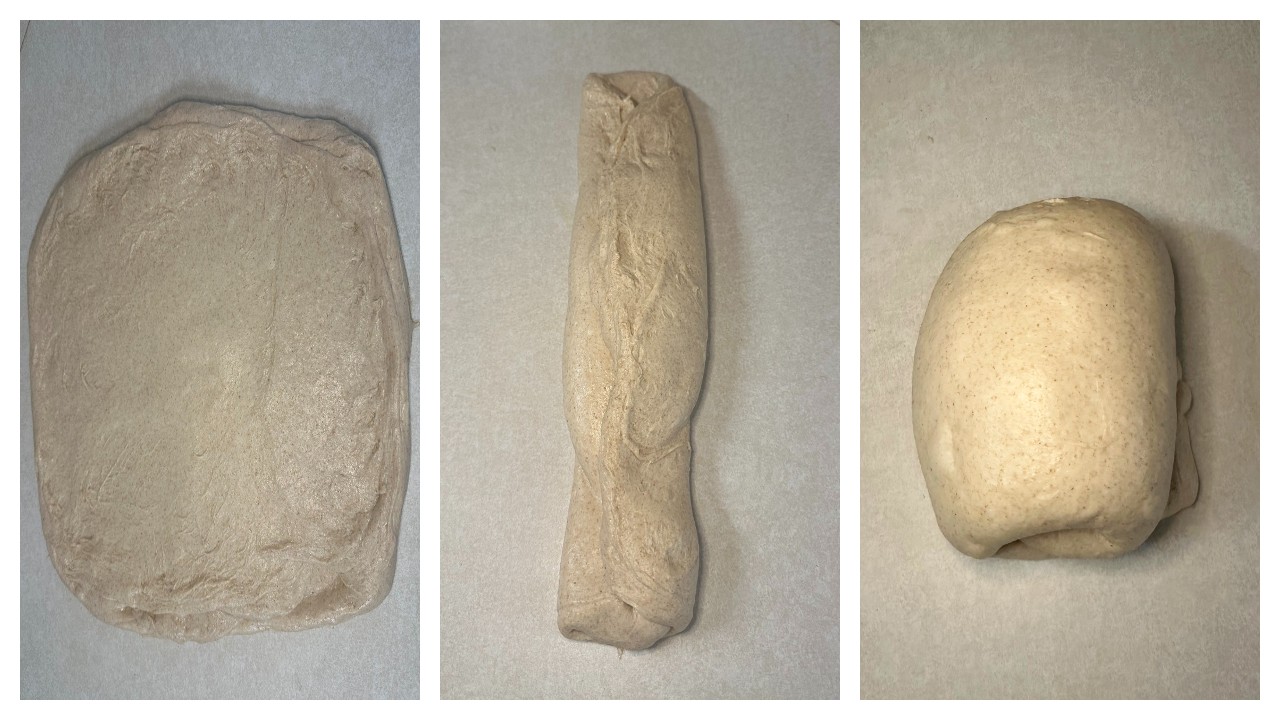
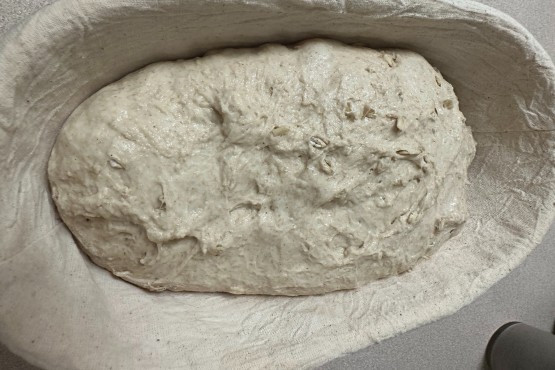
5. Place the dough on a floured surface, and pre-shape it into a boule. Let it rest for 30 min.
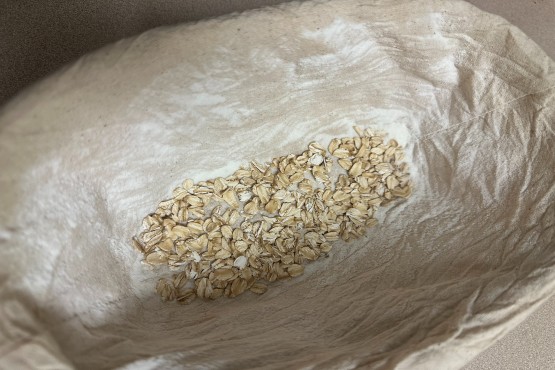
6. Prepare banneton with flour or a cloth liner to prevent the dough from sticking.
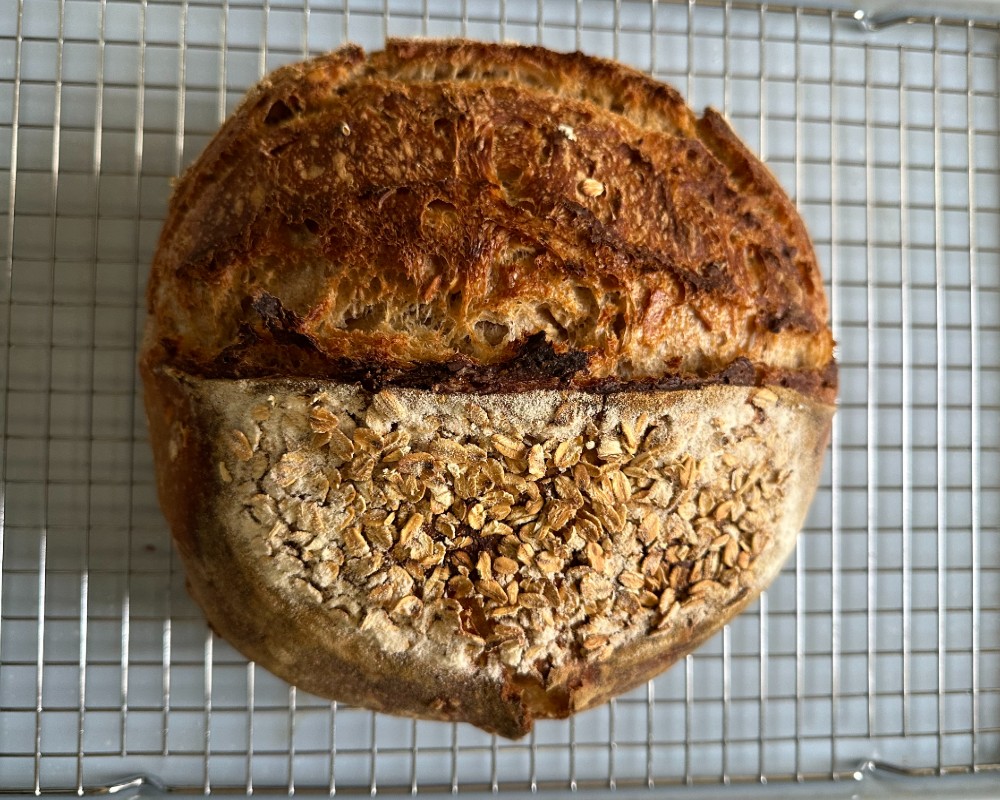
This time I added rolled oats to the bottom of the banneton basket as well.
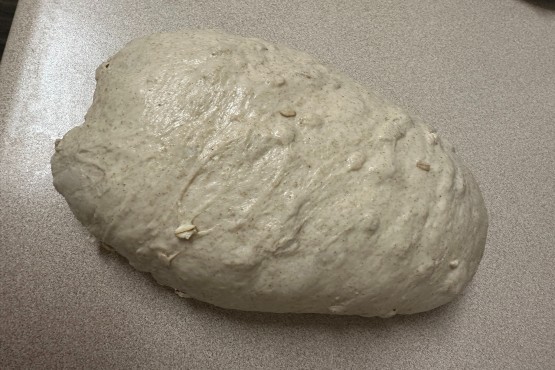
7. Proofing*: Shape the dough and place it in a banneton, place the banneton in a bag, and let it proof for 2-4 hours at room temperature or overnight in the fridge. (The dough can stay in the fridge for up to 36 hours)
Poke Test: The dough will be fully proofed when you poke it and it springs back just a little. (If it springs back immediately, the dough is underproofed; if the dough never springs back, it means it's overproofed)
Proofing* is when the dough is allowed to rise and develop flavor, after shaping but before baking. It is also known as the "second rise" or “final fermentation”.
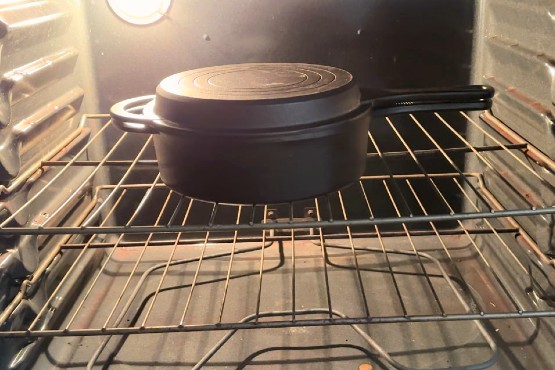
8. Preheat the oven and the Dutch oven to 450°F / 230°C for at least 30 minutes.
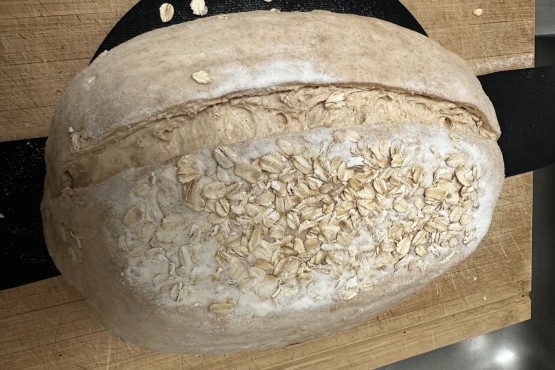
9. Place the dough on a silicon mat/parchment paper. Score the top of the dough with a razor or a sharp knife. The scoring helps the bread to rise evenly and prevents it from cracking.

10. Bake the bread with the lid on for 25 minutes.
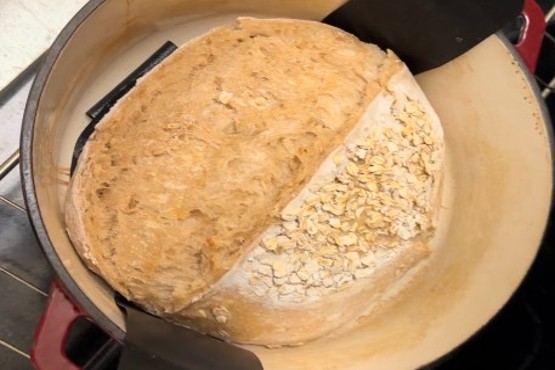
11. Remove the lid and bake for 30 more minutes, or until golden brown. To prevent the bottom of your bread from burning, place a baking tray on the rack beneath your Dutch oven.
12. Remove the bread from the oven and let it cool on a wire rack for at least 1 hour before slicing and serving.
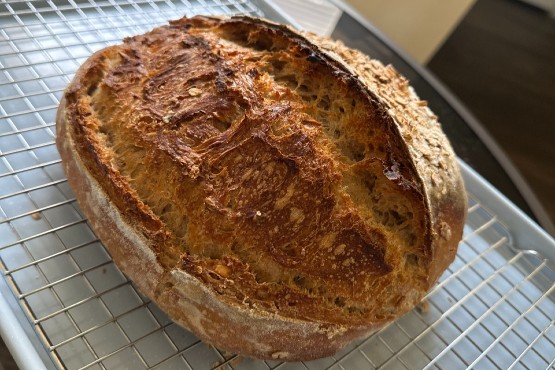
Enjoy!
Tips:
- Prevent the bottom of your bread from burning by adding a layer of cornmeal to the bottom of the Dutch oven or using 2 silicone mats when baking your bread.
- Store it in a container or resealable bag at room temperature for up to 5 days or freeze them for up to 3 months.