Make Your Own Sourdough Starter
2 h 30 min
7 Days
7 Days 2 h 30 min
Making your own sourdough starter can be a fulfilling experience since it allows you to create a unique starter by controlling the flavor and selecting the type of flour you prefer. So, if you're interested in making your own sourdough starter, don't hesitate to give it a try!
Ingredients
- 50 g Water Bottled or filtered water is recommended.
- 50 g Flour I like to use a mix of 50% whole wheat flour and 50% all-purpose flour, it gives the sourdough starter strength and a balanced texture.
Equipment
- Jar
- Spatula
- Scale
Instructions

 (Show/Hide Images In The Recipe)
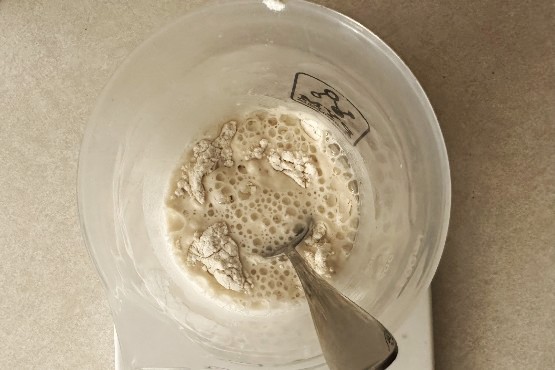
1. Day 1:
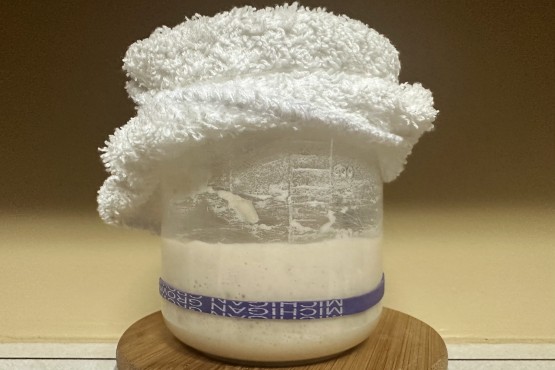
Mix equal parts of water and flour. Cover the jar without sealing it completely, so it can breathe, and leave it in a warm place for 24 hours.
50 g Flour (50% whole wheat flour and 50% all-purpose flour)
50 g Water
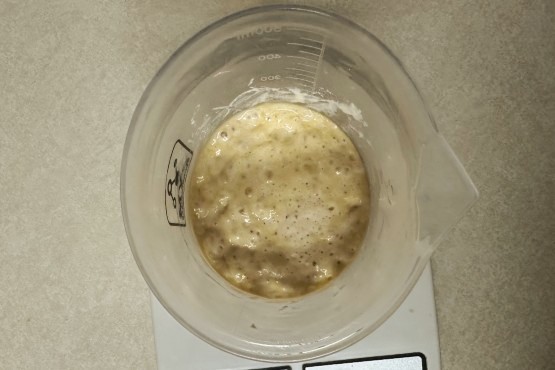
2. Day 2:
On the second day, you don’t need to add anything. Just give it a good stir to let some air in, then set it back in a warm spot for another 24 hours. If you notice a few bubbles starting to show up, that’s awesome! But if not, no worries, it just needs a little more time.
3. Day 3:
Just like on the first day, I added 50 g of water and 50 g of flour, covered the jar, and let it sit in a warm spot for another 24 hours. You don’t need to remove anything from the original mixture.

4. Day 4 and forward:
Feed your sourdough starter every day in equal parts (1:1:1). Keep just 50 g of starter in the jar, and add 50 g of water and 50 g of flour.
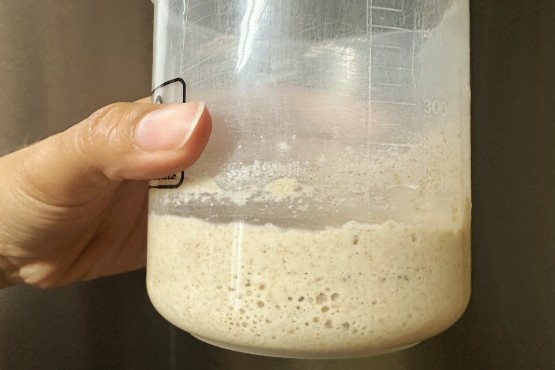
5. Day 7:
Your sourdough starter should start doubling in size consistently about 4 to 8 hours after feeding.
If it still seems inactive after day seven, you can feed it twice a day (every 12 hours) to give it a boost, or try using only whole wheat flour.
Once it’s fully established, you can switch flours without any problem.
4. Day 10 and forward:
Your sourdough starter is ready to bake with! From now on, you can feed it in whatever way works best for you. I feed mine in a 1:2:2 ratio (one part starter, two parts water, two parts flour) to keep it strong and balanced.
Check out this feeding and maintenance routine for more details.
Tips:
-
To avoid taking your starter out of the jar every time you feed it, determine the empty jar's weight first and note it, preferably on the jar. Once you're ready to feed the starter, sum the jar's weight plus the amount of starter you plan to feed and only remove the rest of the starter.
e.g. I have a jar weighing 31 g and I need 20 g of starter. I will leave 51 g total and remove the excess.