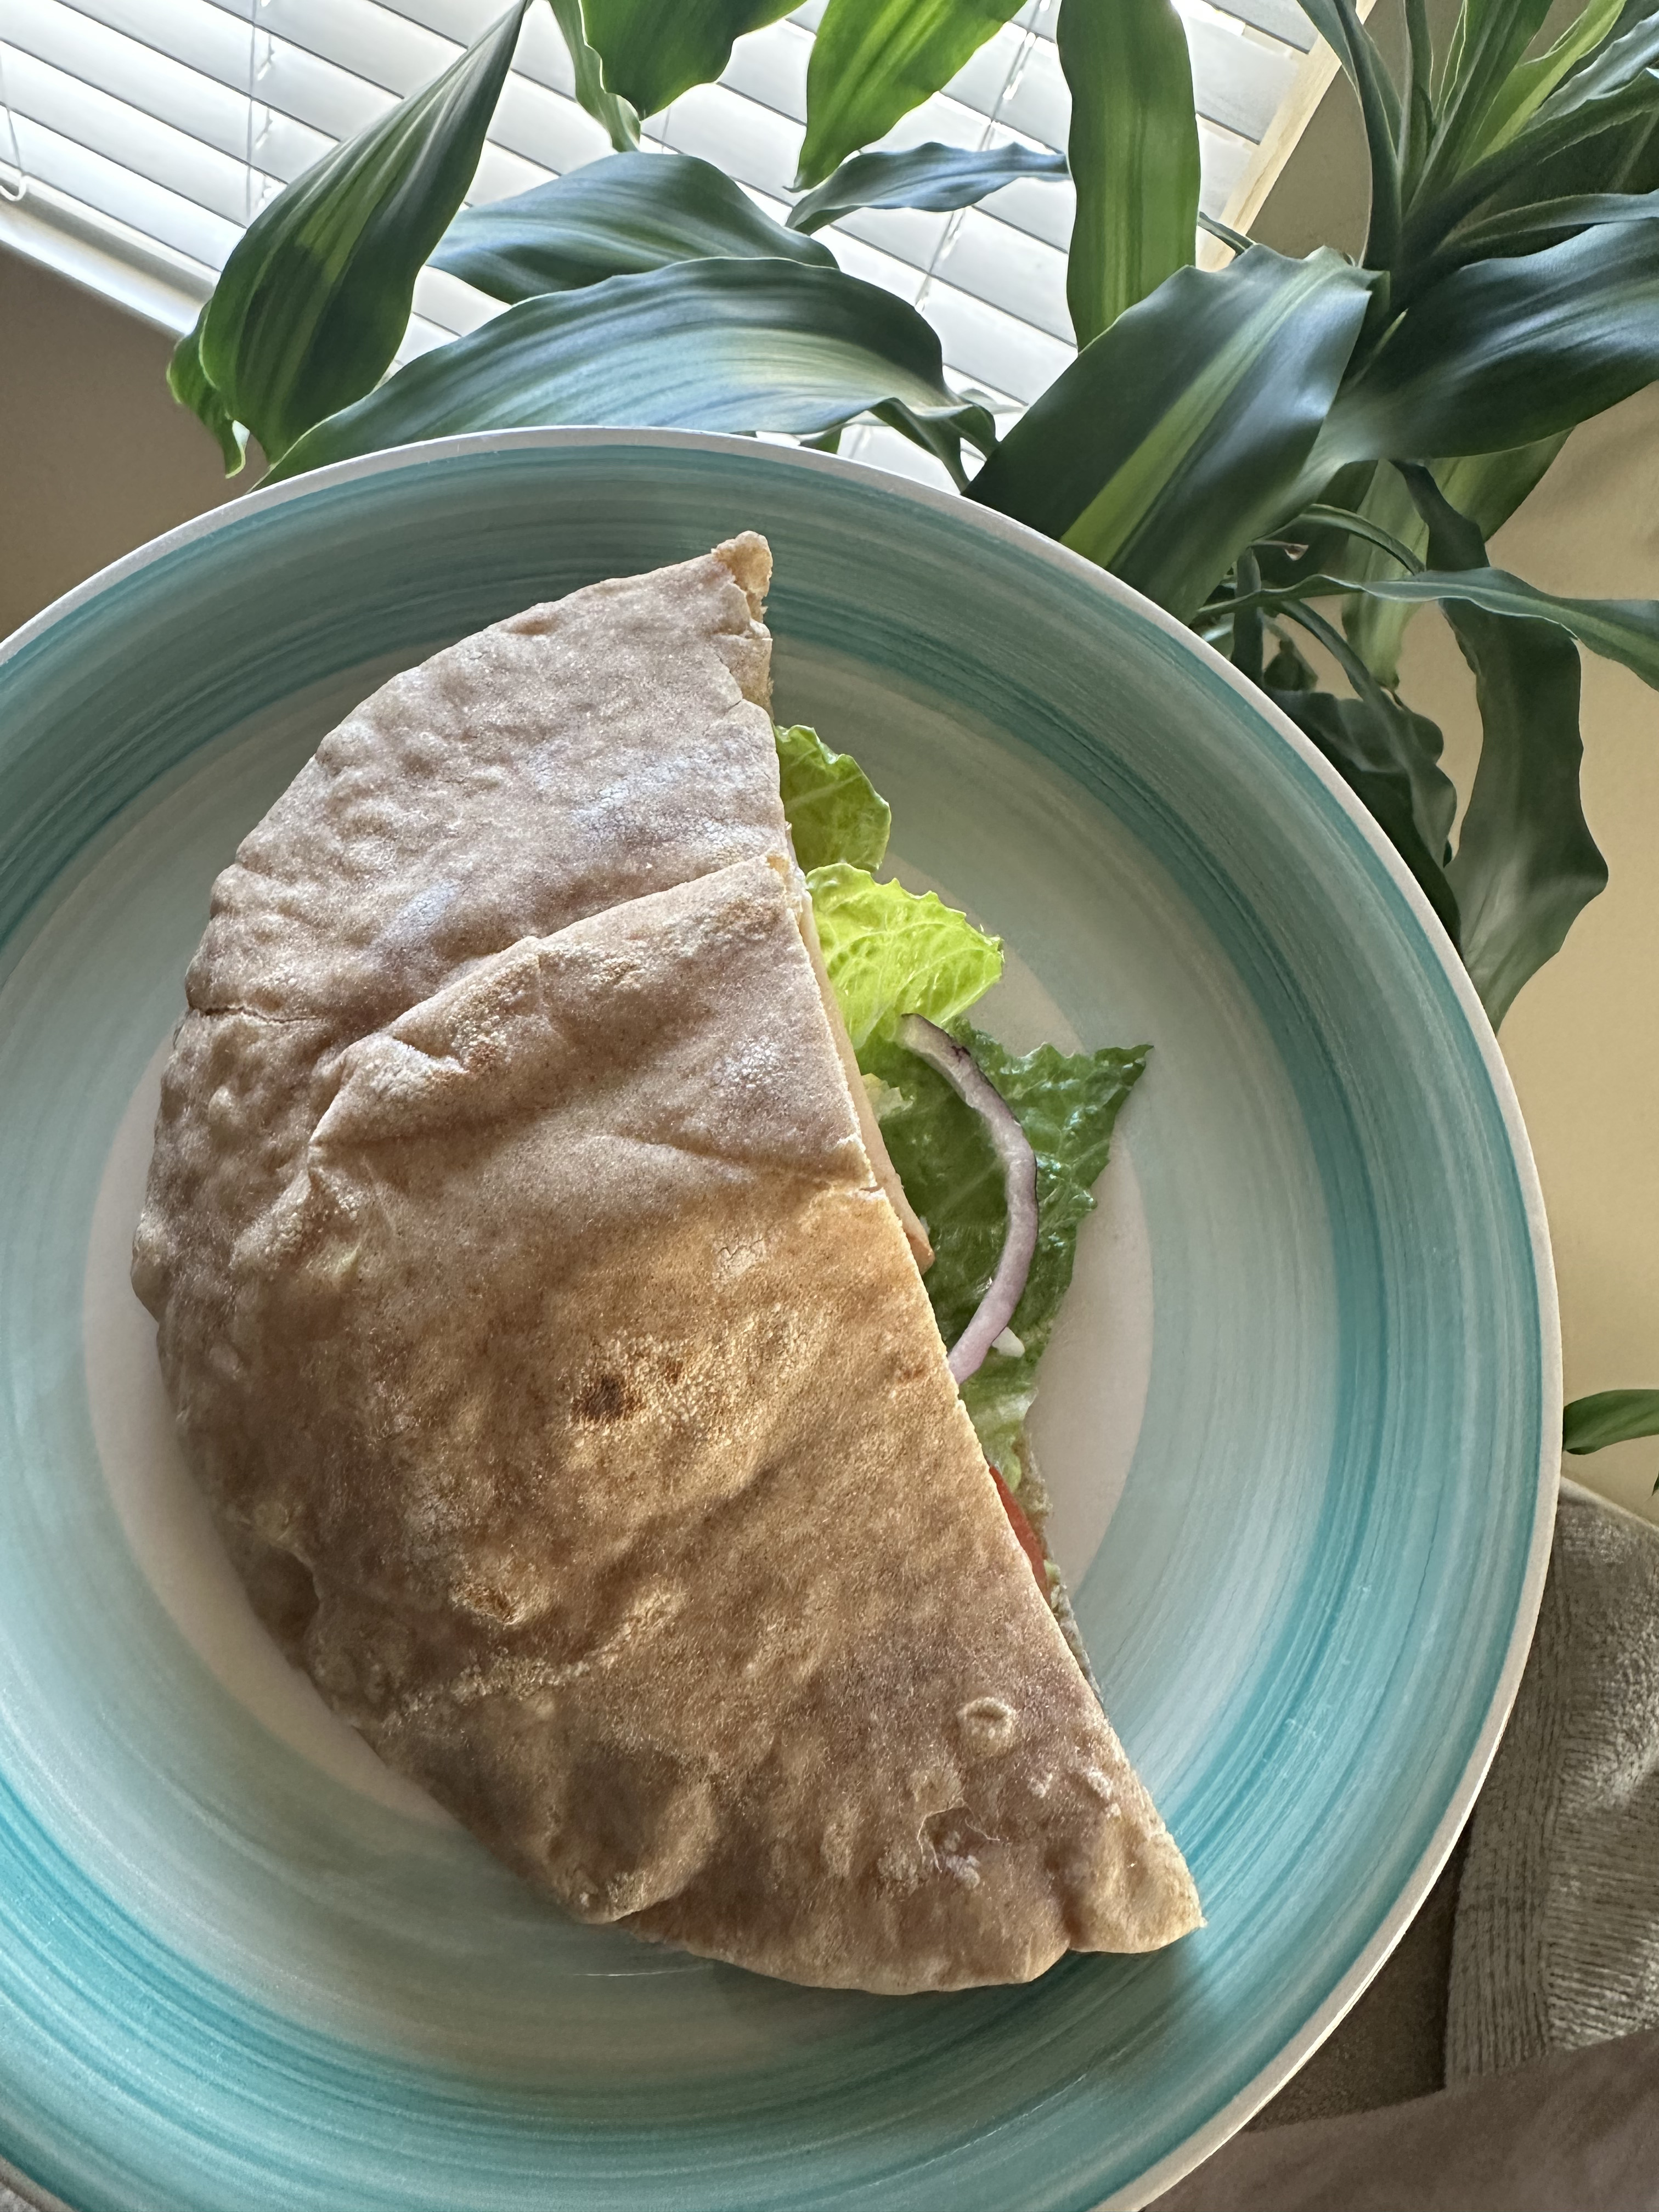
Sourdough Pita Bread
8 Pita Bread
1 h
20 min
6 h 30 min
7 h 50 min
Ingredients
- 225 g Active Sourdough Starter
- 150 g Bread Flour
- 200 g Whole Wheat Flour
- 275 g Water
- 30 g Olive Oil
- 15 g Sugar (You can use honey or agave nectar as a substitute)
- 7 g Salt
Equipment
- Bowl
- Danish Whisk
- Scale
- Scraper
- Spatula
- Plastic Wrap/Tea Towel
- Rolling Pin
- Iron Skillet/Baking Sheet
Instructions

 (Show/Hide Images In The Recipe)
1. In a bowl, combine wet ingredients. Mix until well combined.
225 g Active Sourdough Starter
275 g Water
30 g Olive Oil
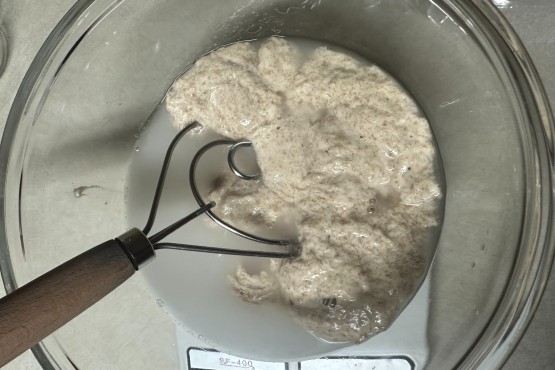
2. Add the dry ingredients to the wet mixture and give it a mix until you’ve got a rough dough coming together.
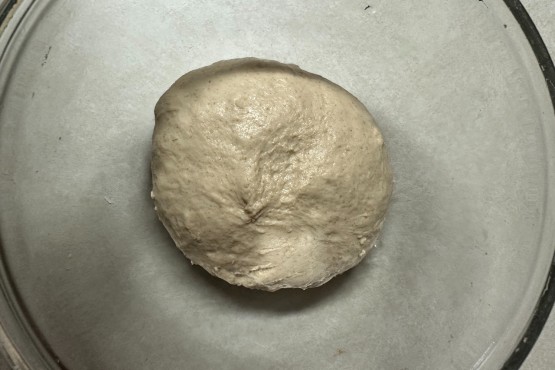
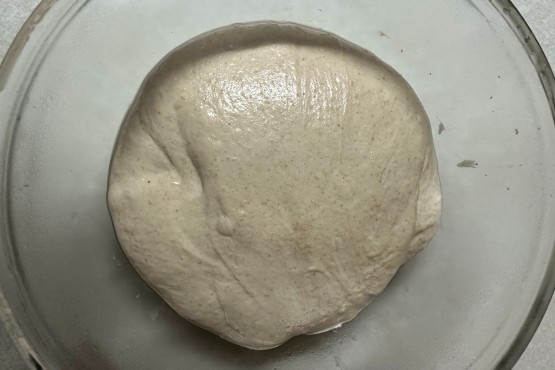
If kneading by hand, knead for 5–10 minutes until smooth and elastic, adjusting with more water or flour if needed. Place the dough in a lightly oiled bowl, cover, and let it rest for 30 minutes.
If using a stand mixer, switch to the dough hook and knead at low-medium speed for 8–10 minutes until the dough is smooth and elastic and pulls away from the bowl. Cover the dough and let it rest for 30 minutes.
150 g Bread Flour
200 g Whole Wheat Flour
15 g Sugar (You can use honey or agave nectar as a substitute)
7 g Salt
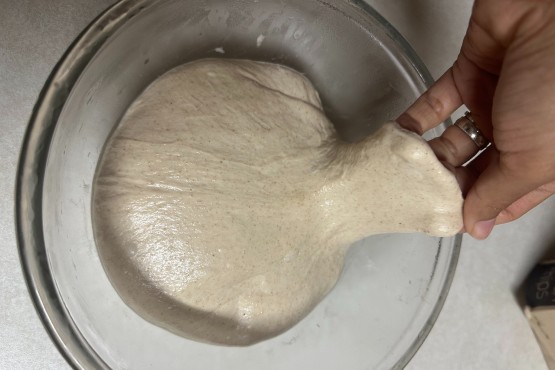
3. If you kneaded the dough by hand, perform three rounds of stretch and fold* . Let the dough rest for 30 minutes between each round. After the third round, it should feel smoother and more elastic.
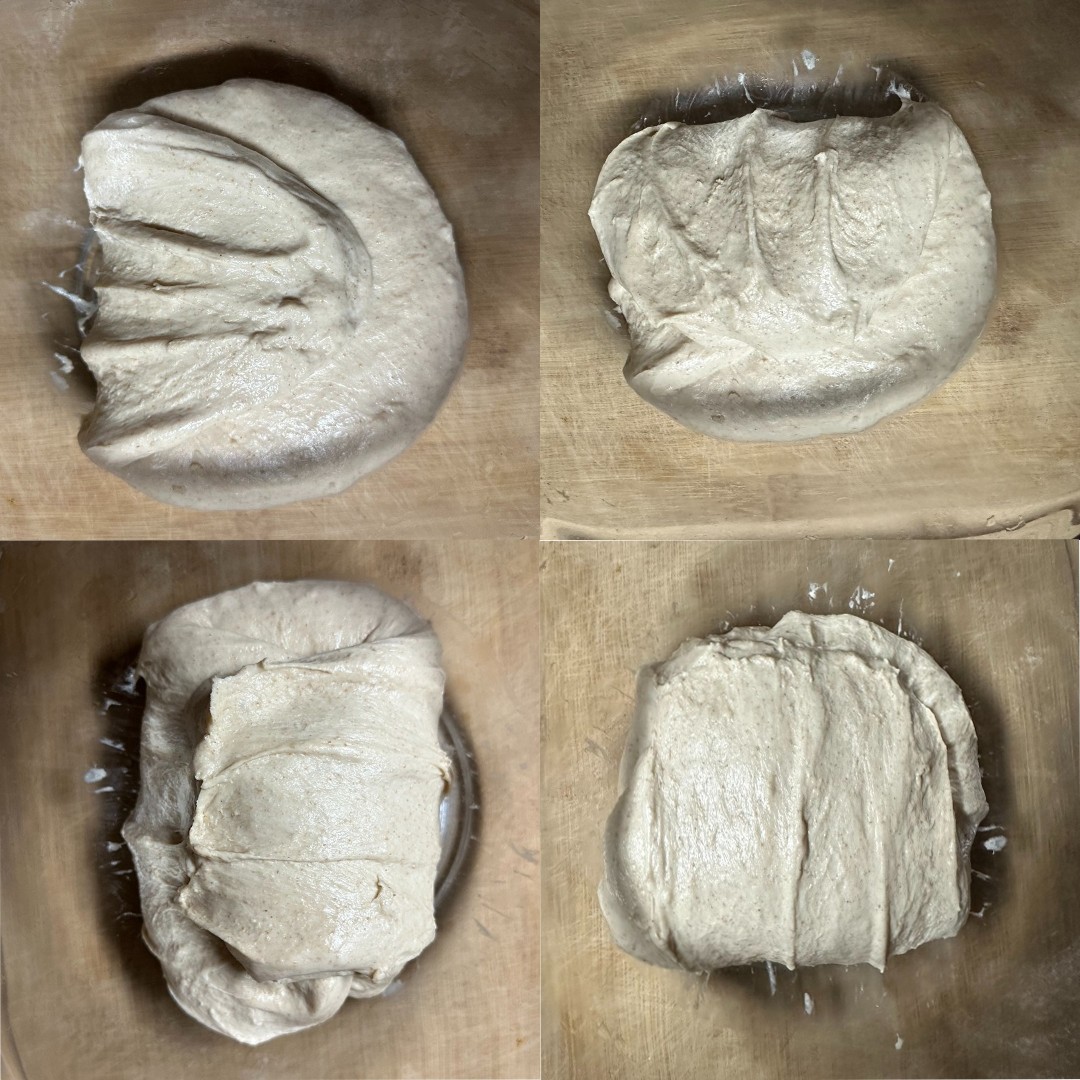
Stretch and Fold*: Gently lift one side of the dough and fold it towards the center. Repeat this process for the remaining three sides of the dough. This method essentially turns the dough inside out.
If you used a stand mixer, proceed directly to checking the dough's gluten development using the windowpane test: stretch a small piece between your fingers, if it stretches thin enough to let light through without tearing, the dough is ready for the next step; otherwise, keep kneading for a few more minutes.
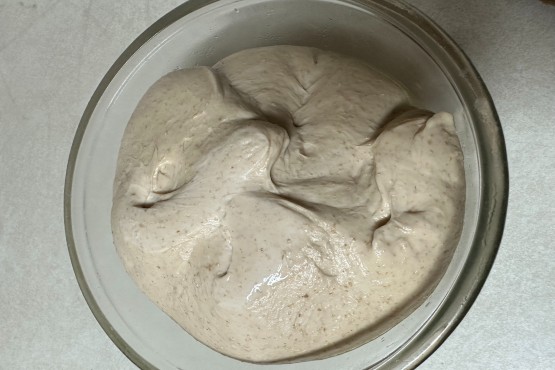
4. Let the dough ferment at room temperature for 4 to 8 hours, or until it doubles in size and looks airy and bubbly. You can refrigerate the dough at this point for up to 48 hours if you’re not baking it immediately.
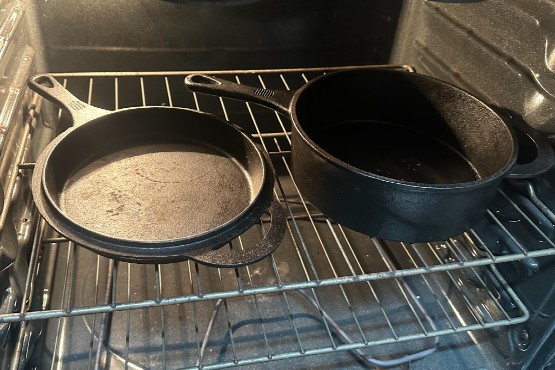
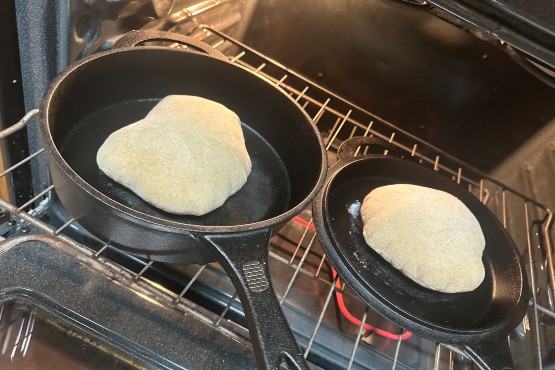
5. Preheat oven to 450°F / 230°C for 30 minutes and place the iron skillet/baking sheet inside.
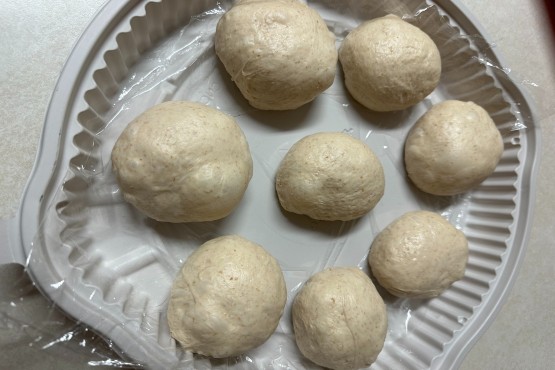
6. Divide the dough into 8 equal pieces. Shape each piece into a ball. Cover the dough balls with plastic wrap or a kitchen towel and let them rest for 10 minutes.

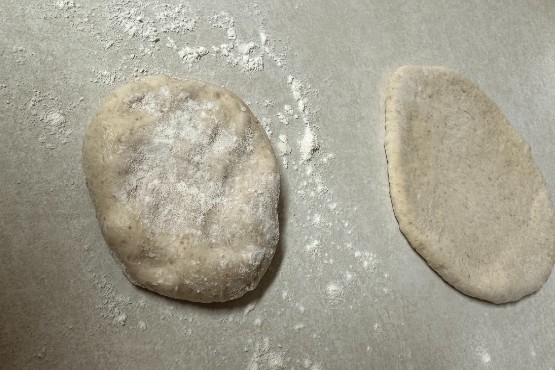
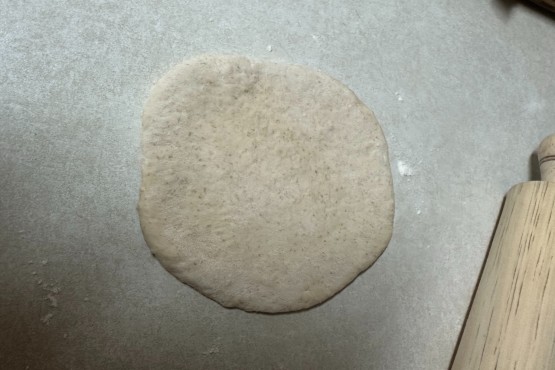
7. Flatten each ball into a thin disk using a rolling pin, being careful not to make it too thick or too thin.
8. Bake for 5 to 7 minutes or until nicely browned. You don't need to flip the pitas. They'll puff as they cook and deflate as they cool.
9. Wrap the warm pitas in a kitchen towel as they come out of the oven so they stay soft and pliable.
Enjoy!
Tips:
- Store the pitas in an airtight container or bag. You can keep them at room temperature for up to 5 days, refrigerate them if it’s particularly warm, or freeze them for up to 3 months.